Wedding Guest Makeup Tutorial By Amy Nadine
In honor of her appearance on this week’s episode of Asking For A Friend, Lauren’s longtime makeup artist and friend Amy Nadine is sharing her go-to looks for wedding guests, for a daytime or nighttime event. Be sure to listen to their episode here and keep reading for a special video tutorial below…
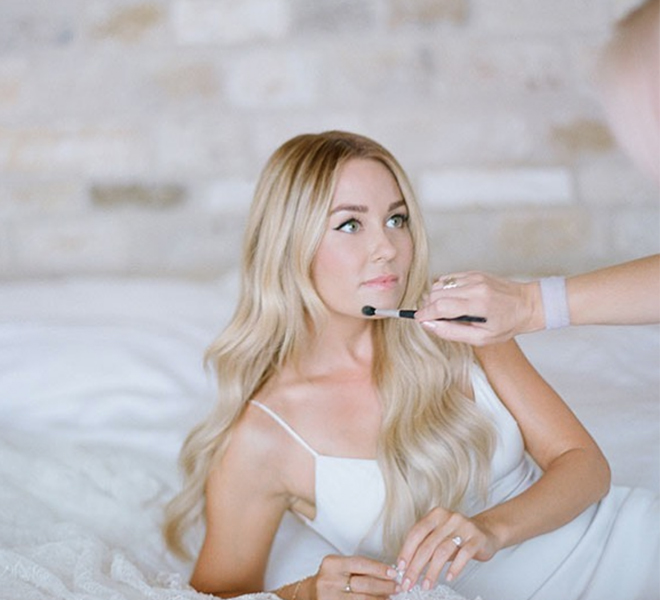
Hi there! It’s Amy Nadine, Lauren’s latest guest on her Asking for A Friend podcast! I usually work behind the scenes as a makeup artist, but today I’m stepping in front of the camera to share an easy wedding beauty look with you all. I wanted to create a look that’s easy to apply (I prefer using my fingers to a brush, but do whatever works best for you!) and most importantly, will last all night long, since chances are you’ll be celebrating with the happy couple into the wee hours. Watch my tutorial below to follow along, and be sure to give this episode of Asking For A Friend a listen to learn more about my go-to makeup tips for special occasions and everyday life…
1. Primer. I like to start with an illuminating primer as a base—this will not only give you a radiant glow, but will ensure your makeup lasts, even in the heat of the day. I used VDL Lumilayer Primer to create a glowing, even canvas.
2. Foundation. Next, I used Charlotte Tilbury’s Light Wonder Foundation to camouflage any redness. This is especially useful in warmer months when we might have gotten a little too much sun. I used shades 5 and 6 to create a custom color. Don’t forget to bring it all the way down to your neck!
3. Highlighter. If you want a little extra radiance, go back and add a touch of illuminating primer to your cheekbones.
4. Blush. To add a pop of color, I went for the ISH Cheek and Lip Tint, in the shade Rosé, and then set it with Benefit’s Dandelion Blush. I opted to use a powder blush, rather than regular powder, to enhance the natural summer glow.
5. Bronzer. After my cheeks were done, I contoured with Benefit’s Hoola Bronzer. I followed the shadows on my face (remember to suck in like a fish to contour your cheeks!) and blended it out for a softer, more natural finish.
6. Brows. To fill in my brows, I used Thrive Cosmetics Waterproof Eyebrow Liner in the shade Audrey (this is good for darker blondes to medium brunettes). Make sure to draw in hairs, not lines, and keep things looking natural. Eyebrows are sisters, not twins!
7. Eyes. For my eyes, I relied on a light, sparkly color palette for a daytime look. I used Revlon’s Original Palette and made sure to blend the color all the way into the lash line. Then I followed up with Charlotte Tilbury’s Color Chameleon eye pencil in Bronzed Garnet on my upper and lower lash line to make my eyes really pop.
8. Mascara. Now, what I consider the most important step: mascara! (Note: I misspoke in the video and said ISH, but I actually used It Cosmetics Superhero Mascara, oops!)
9. More Shadow. I also followed up with ISH Eyeshadow in Burgundy Eyes for a pretty, sunset-inspired look.
10. Lips. While the stain I used for my lips is no longer available, this color will give you a similar popsicle stained look. I followed it up with this pretty pink ISH Lipstick.
11. Day to Night. If you want to give your look some nighttime glam, I used this Shimmy Shadow from ISH for a moodier feel.
All total, this look takes about 15 minutes to create from start to finish, so you can do your makeup and get to the main event—the wedding!
What are your favorite products for wedding makeup?
Let me know in the comments, and be sure to listen to my podcast episode with Lauren for more tips!
XO Amy
Shop This Post…

Photos: Amy Nadine
Affiliate links may have been used in this post.


