Green Thumb: How to Start an Herb Garden
This month, spring is finally in full bloom. Things are defrosting for good and wildflowers are popping up everywhere. Winter seemed to last forever, but thanks to the excessive rain, I now have the perfect soil for gardening. If you’ve been an avid LaurenConrad.com reader over the years, you know that I share some of my favorite gardening tips every spring. Whether you only have space for a balcony garden or have a yard big enough to grow rows of vegetables, I’ve covered an array of topics when it comes to cultivating soil. Some of you may be hesitant to start a garden because of your green thumb (or lack thereof). Well today I’m back again to give my readers a little lesson in gardening 101, only this time I’m focusing on herbs.
Did you know that April is the perfect month to start an herb garden? That’s right, if you plant your seeds this month, you’ll have a flourishing garden in no time. With Earth Day around the corner, what better way to celebrate our planet, roll up your sleeves and do some good—one tiny seed at a time. Windowsill, patio, or spacious backyard—you can start an herb garden just about anywhere. If this sounds like something you’re willing to commit to, I have a few easy-to-follow tips to help you on your way. Keep scrolling to see how you can master the art of gardening, one herb seed at a time. Let’s get planting…
1. Find the perfect spot.
The most important step in your gardening endeavor is the first one. Be sure to find a space with plenty of sunshine for your herbs to grow. Pick a spot on the windowsill that gets flooded with light or scout your yard for the perfect sunny patch. This ensures that your herb garden will flourish for months to come.
2. Prepare the soil.
Whether you’re growing herbs in individual pots or planting them in the ground, be sure to properly prepare the soil beforehand. To do so, fill a pot with moistened soil, or if you’re working with older, hardened soil, break it up with a gardening fork or shovel. Loose soil allows roots to grow more easily as opposed to compressed soil. The last step in preparing your soil is to add compost. This will give your soil the nutrients it needs to make your herbs grow healthier. Tip: I recommend using plastic pots with holes in the bottom for proper drainage and watering. Clay or terracotta pots tend to soak up the moisture in the soil, leaving it dry.
3. Set the seeds.
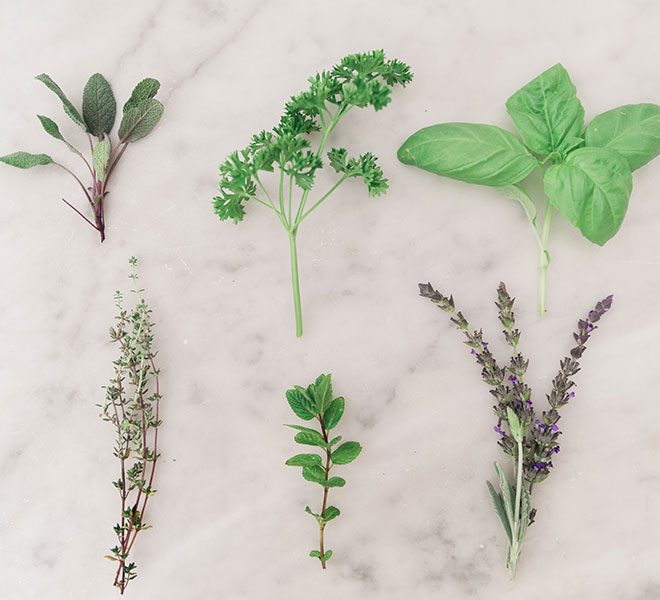
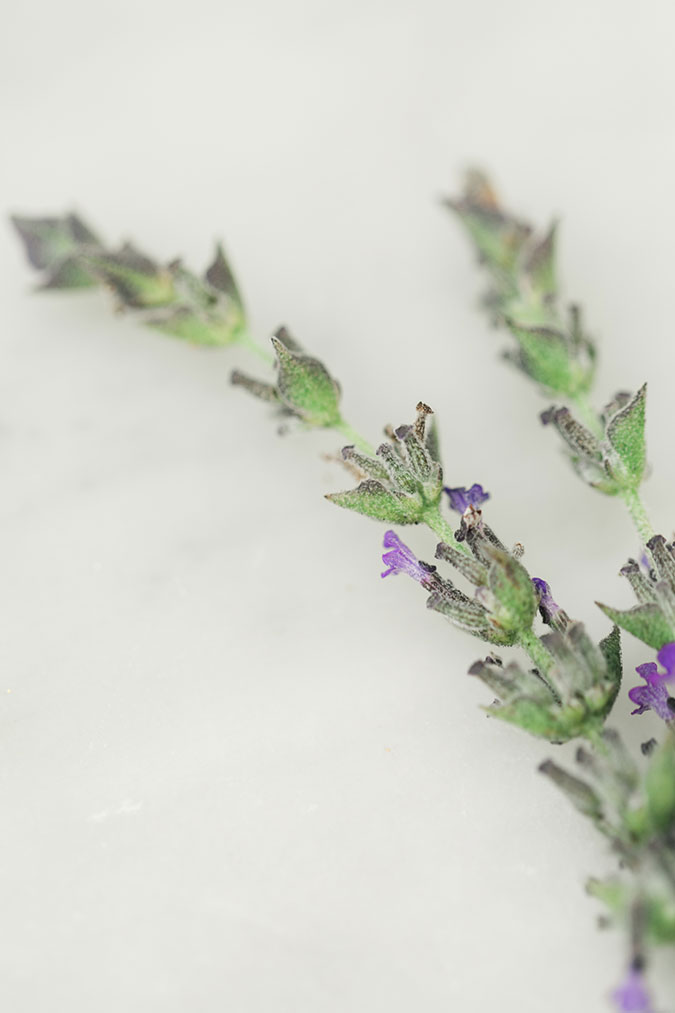
Now we’re getting to the fun part! I love being able to pick out seeds at my local nursery or hardware store. I almost always choose to grow basil, rosemary, thyme and lavender. Yum! Once you’ve gathered the packets of seeds that you want to grow, be sure to read the instructions on the back of each herb packet to see just how far they need to be buried in soil. Most seeds need to be covered with about 1/8 of an inch of soil. Once you’ve gently covered your seeds, sprinkle the soil lightly with water to moisten it.
4. Keep them covered.
If you opted to plant your herb in pots, this next step is for you. Place plastic wrap over your pots until you can see your plants starting to grow. Seeds are sensitive little things and you can disrupt germination with heavy watering. By placing plastic wrap over your pots you are allowing the soil to stay consistent. When you can see the tiny sprouts beginning to poke through the soil you can then remove the plastic.
5. Water!
Last but certainly not least, you’re going to want to keep the soil nice and evenly moistened so that your herbs can grow! Place your pots on a corresponding plate and always water from the bottom. Since your herbs will need a lot of sunlight, you want to check the soil regularly so that it doesn’t dry out.
Once your herbs grow to their full potential, one of my favorite things to do is dry them and use them in the kitchen. Cooking with homegrown herbs and veggies makes a huge difference in flavor. I love it and will never go back to store-bought!
Do you have any gardening tips of your own?
Let me know if you do in the comments!
XO Lauren
Photos: Valorie Darling for LaurenConrad.com


