DIY: 4 Gorgeous Holiday Flower Wreaths
Take a peek below to see how we created our wreaths. And, be sure to let me know which one is your favorite in the comments below…

The first thing we did the morning of our wreath-making day was head to downtown Los Angeles to make a big run at the flower mart. If you live in LA and have never been to the flower mart before, you must go. It’s a treasure trove full of the most gorgeous blooms.
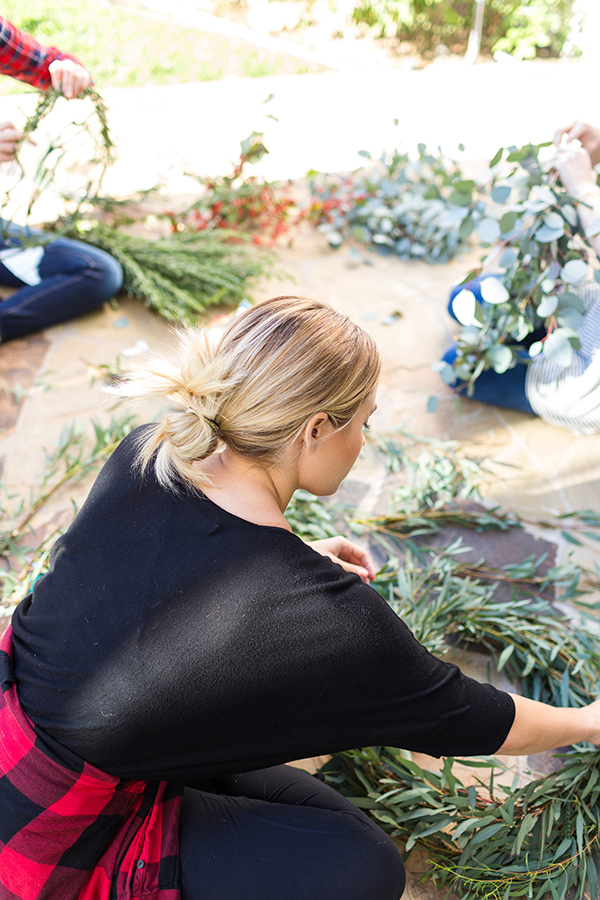
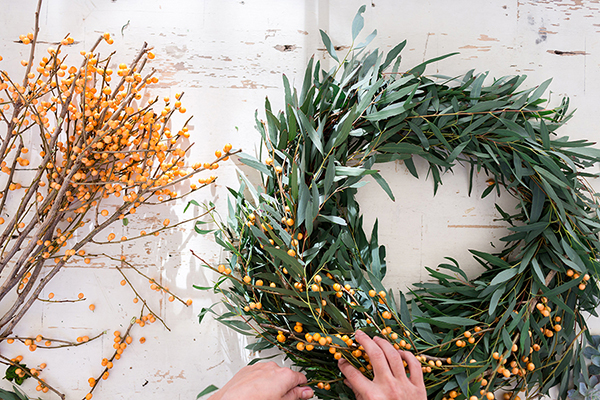
Then, we went home and began making the base of our wreaths. To do this, we bought wire frame wreaths, which really helped us to get our start using a perfect circle as the shape. We cut pieces of wire to fasten different greenery to the wire base from there.
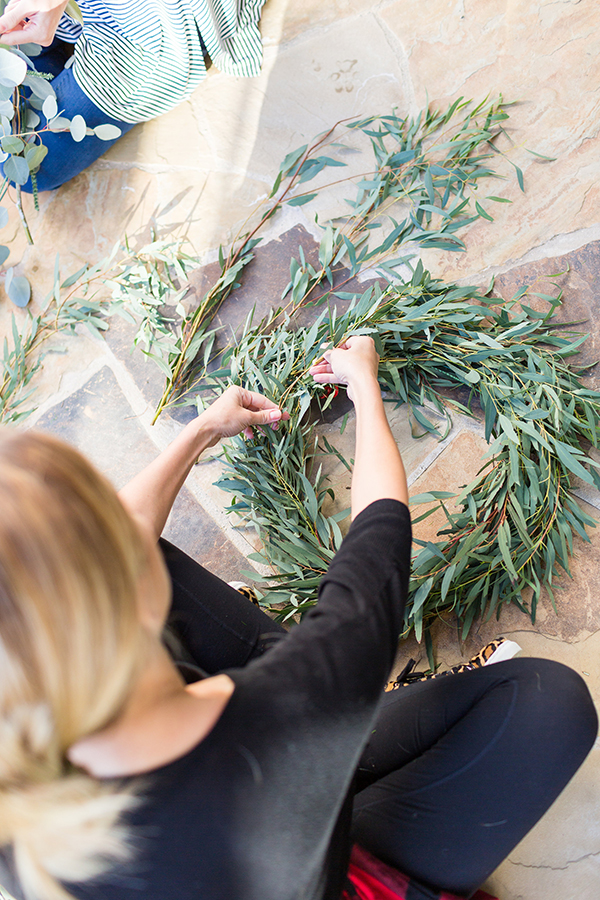
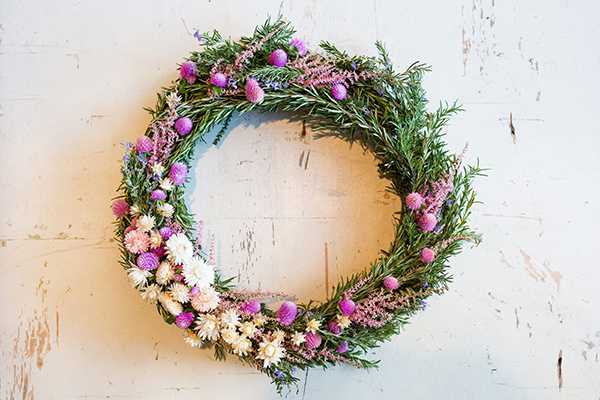
The greenery we used for our wreaths included two different types of eucalyptus, three different kinds of pine (all from the flower mart) and fresh, blooming rosemary from my own garden. We added enough greenery to the wire base until we couldn’t see the frame anymore. You can make your DIY wreath as full or as simple as you’d like.

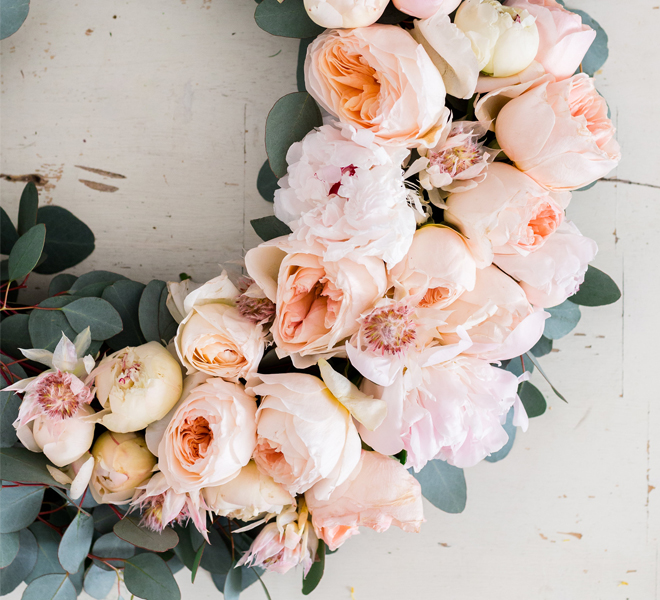
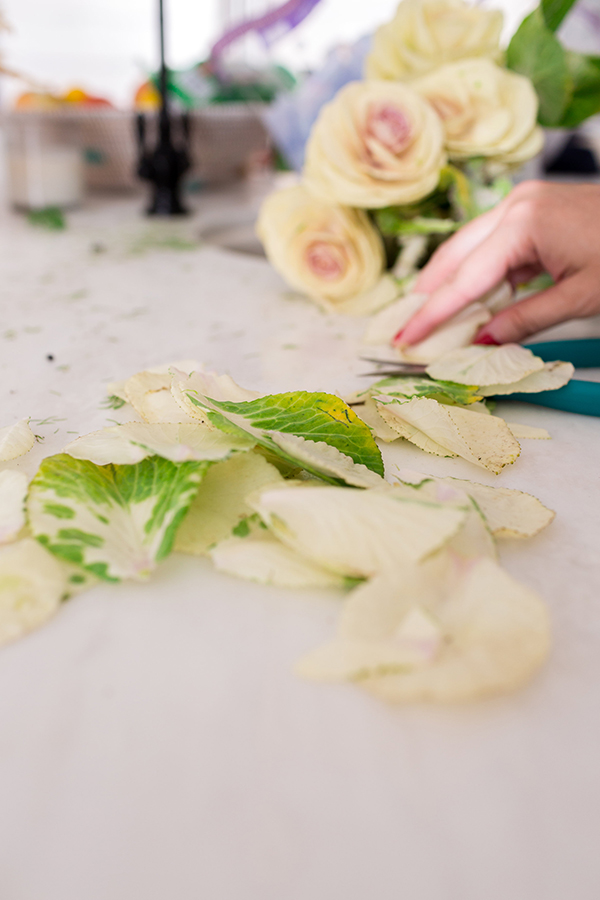
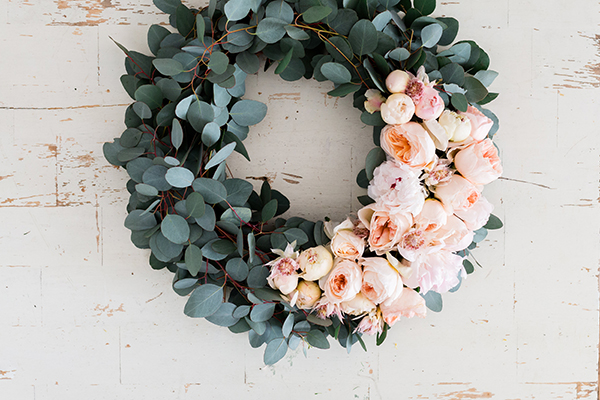
Then came the fun part: Adding flower accents to our four wreaths. I wanted all four wreaths to look different, so I kept that in mind when I bought my flowers that morning…
We used the same method to attach the flowers as we did for the greenery on the wreath base: Simply work the stems of your flowers into the greenery and tie down with small pieces of floral wire (or floral tape). Some of the flowers we used, like the garden roses and peonies, didn’t have strong enough stems to tie down with wire. So, for these, I got out my glue gun and started gluing away.

When you’re making fresh flower wreaths like these, you want to gently pick up your wreath when you think you may be finished to make sure nothing falls to the ground. If anything does fall out of place, put your wreath back down on your working surface and place the fallen pieces back in. Do this until you are confident that everything is secure so that you can hang your wreath upright.

Like I said above, these wreaths are not made to last all month—the beautiful flowers will stay fresh for about 48 hours, or a weekend. That said, they’re perfect wreaths to make before hosting a holiday party at your home. When you’ve completed your wreath, be sure to spritz it with fresh water, and give it one more spray an hour before your guests arrive. Then, be sure to notice how many compliments you receive on your handmade wreath as your guests walk through the door…

And there you have it. As you can see, wreath making is pretty easy. There are so many different ways to customize your wreath to make it special so that it fits in with your home décor. If you want a wreath that lasts all month long, simply follow the steps above using fake greenery and faux flowers from your local craft store.
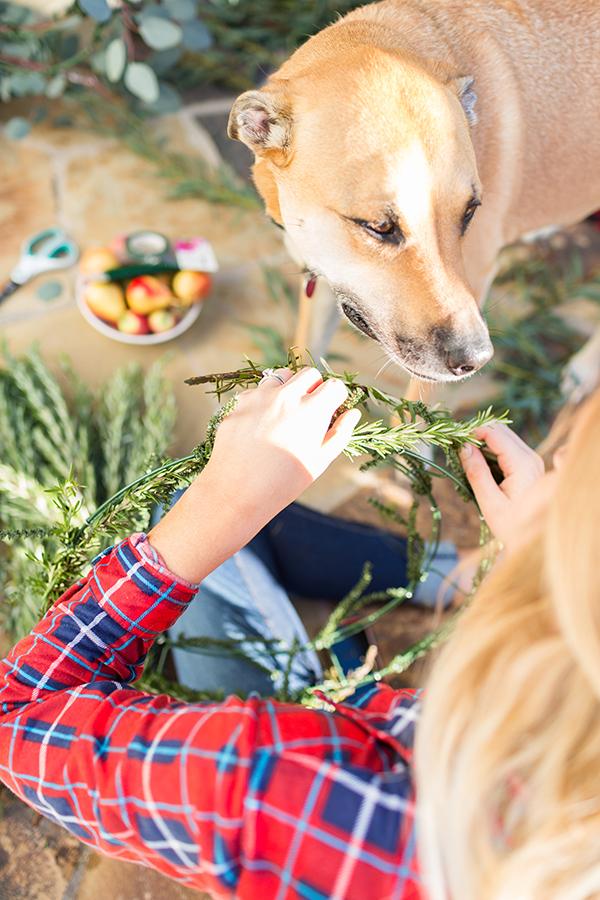
Just be warned that any of you pet owners out there might find your furry friends helping out with the process…


Happy crafting, everyone!
Which of the wreaths above was your favorite?
Let me know below, and share your process below if you give make a DIY wreath this season.
XO Lauren
