Recipe Box: 5-Ingredient Healthy Vegan Pâté
This month on LC.com we’re all about health, fitness and taking care of yourself. And from what I’ve learned, it all starts with the food you eat. Which is why I’m sharing one of my favorite quick, easy, and super healthy recipes today. I got this recipe from my mom, who has been making it for years. My family is vegetarian and quite health conscious, so growing up we were always on the hunt for veggie versions of popular dishes. My mom found this recipe for a vegan take on “chopped liver” or pâté, and it quickly became a family favorite. It’s filled with vegetables, is really easy to make, and is absolutely delicious. My mom always has a big bowl of it in the fridge at home, and it’s her go-to for entertaining. She also brings it with her to parties, where it’s a favorite among her friends.
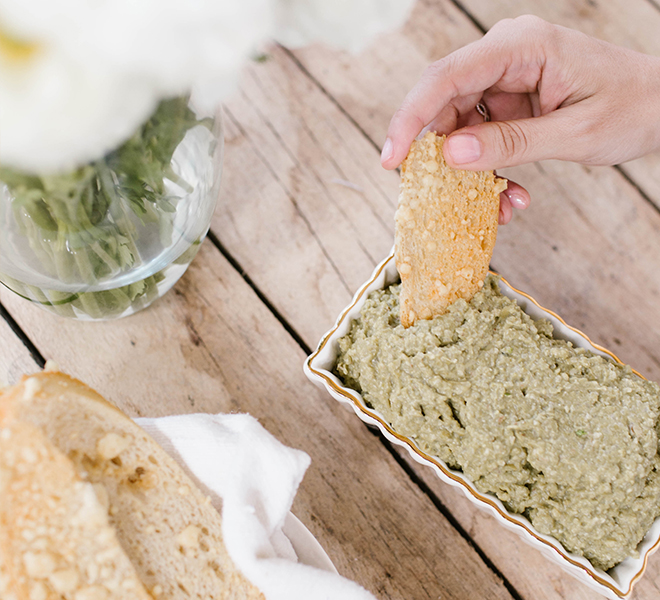
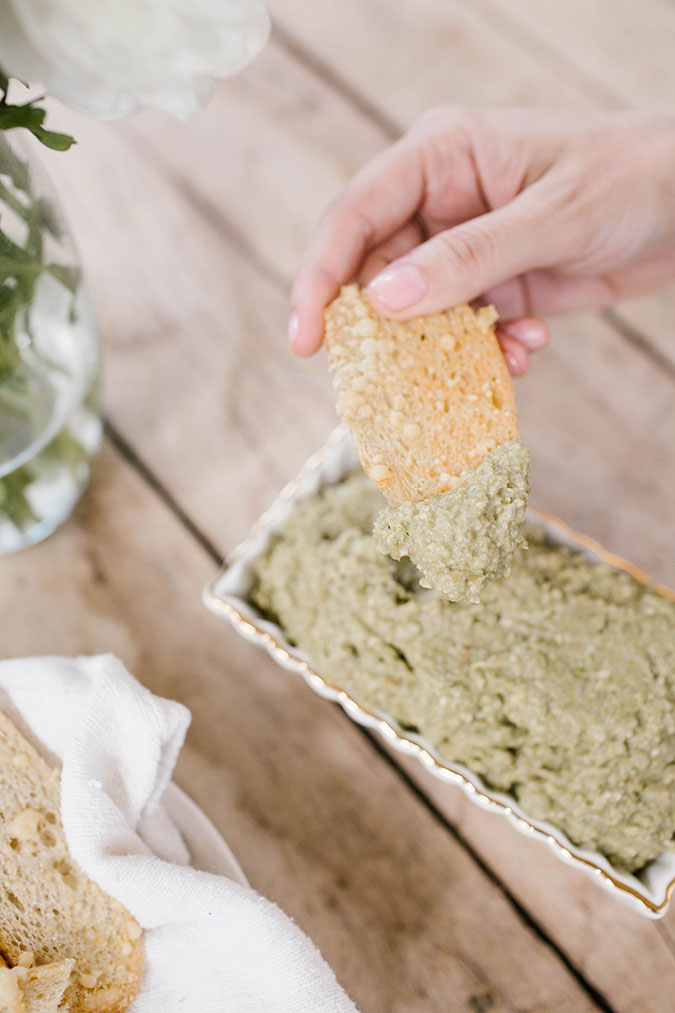
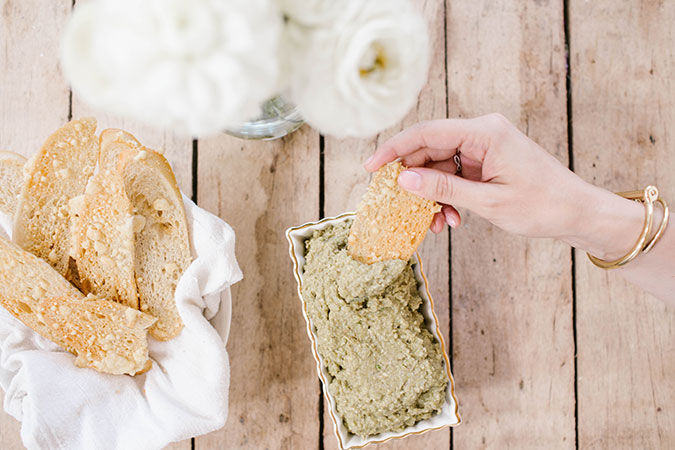
So with healthy eating in mind, I whipped up a batch at our last photoshoot, and it was a hit! We snacked on it all afternoon, and then left the rest with William, who loved it too. You can serve it as an appetizer when guests come over, as a mid-afternoon snack paired with some carrots or cucumbers, add some to a salad, or even spread it on a piece of toast. The options are endless, and the best part is that it’s 100% guilt-free.
So take a look, hit the grocery store, and whip up a batch of this vegan pâté for yourself!
Shirley’s Five Ingredient Vegan Pâté
Ingredients:
- 2 cans of peas, drained
- 2 onions (white or yellow, your preference)
- 1 cup of walnuts, chopped
- vegetable broth powder (we used Telma Cubes in the mushroom flavor, which you can order on Amazon or pick up at a local grocery store)
- 1 tablespoon olive oil
Instructions:
- In a cup of hot water (I used instant hot), dissolve the Telma cubes
- Slice the onions and sauté them in 1 teaspoon of olive oil, until they are golden
- As the onions cook, add the vegetable broth powder (which is now a liquid) and cook into the onions
- Once the onions are cooked, place them in a Cuisinart or food processor
- Add 1 cup of walnuts, and chop until chunky
- Drain the cans of peas, and add them into the Cuisinart
- Blend until smooth
- Once everything is blended together, store the mixture in the refrigerator for at least one hour before serving, longer if possible (you want the pâté to be cold when served)
- Serve with crackers, carrots or simply eat with a spoon!
If you end up making this dip (which I highly recommend!), please let me know how you liked it. I can’t wait to hear what you think!
Do you have any quick, healthy and tasty recipes to share? Leave them in the comments and we just might test them out at our next shoot.
Xo Rachel
Team LC
Photos: Jessi Burrone for LaurenConrad.com
